The gap between buying a vacuum-packed supermarket steak and understanding how it was derived from a primal is the gap between consumer and craftsman. Bridging it requires a modest investment in tools, an understanding of animal anatomy, and the confidence that accumulates from doing it correctly — and safely — more than once. Home butchery is a learnable craft with a compact skill set that returns value in quality, economy, and the deep satisfaction of working closely with your ingredients.
The Essential Toolkit: What You Actually Need
Professional butchery does not require a professional butcher's shop. The home butcher's toolkit is compact, and the investment pays for itself within a season of buying primals rather than pre-cut retail steaks.
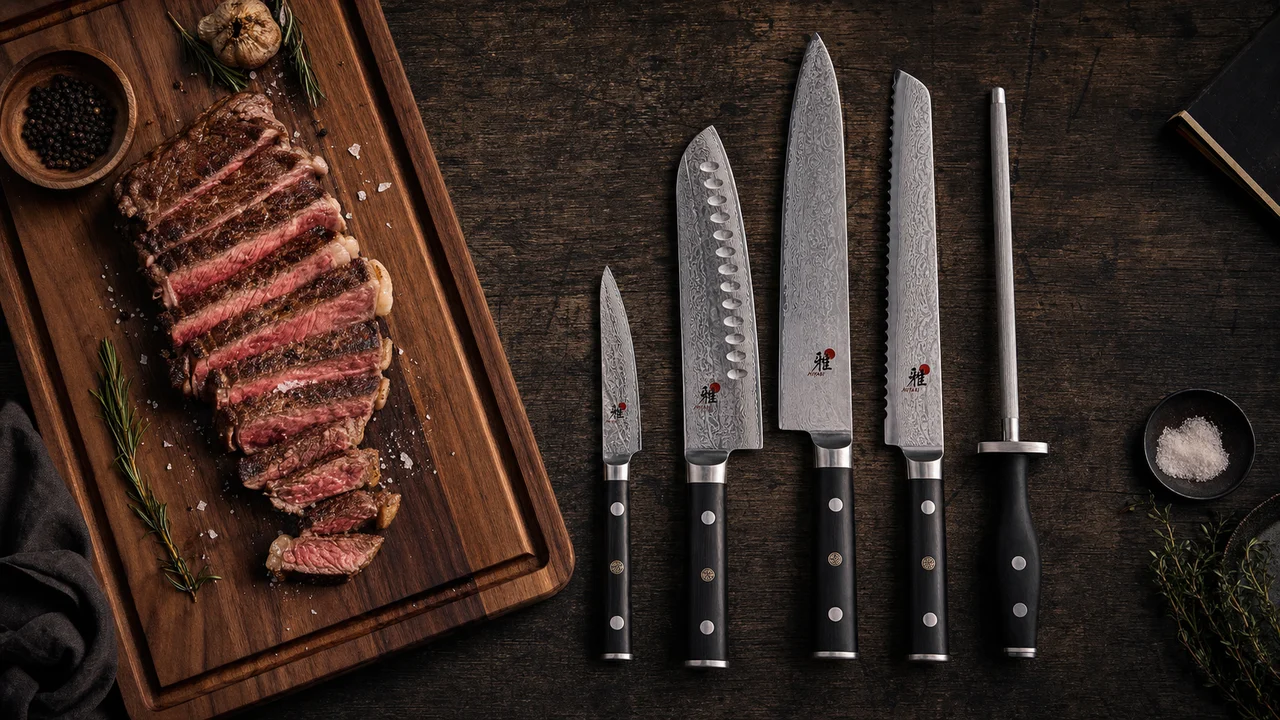
Breaking knife (25–30 cm, curved, rigid blade) — for separating large primals, cutting through cartilage, and navigating around substantial bones. The curved blade follows the geometry of bone joints. This is your heavy-work tool.
Boning knife (13–15 cm, stiff or flexible) — the single most important tool in home butchery. The stiff version traces bones precisely in tight anatomical spaces; the flexible version follows curves for butterflying legs and filleting. This knife performs 80% of the actual work.
Slicing knife (30+ cm, thin, straight or gently curved) — for portioning large roasts and producing clean, even steaks from seamed muscles. The long, thin blade allows a single-draw cut, producing a cleaner sear surface than a shorter knife requiring multiple strokes.
Honing steel — not optional. A sharp knife is categorically safer than a dull one because it requires less applied force per cut; less force means less momentum if the blade deflects. Hone before every session.
Cutting board — large, heavy, and stable. Hardwood (maple, beech) or high-density polyethylene both work. A non-slip rubber mat underneath is essential — a moving board during active butchery is a serious safety hazard.
| Tool | Primary Use | Priority |
|---|---|---|
| Boning knife (stiff) | Bone tracing, seam butchery | Essential |
| Breaking knife | Primal separation, cartilage, large joints | Essential |
| Slicing knife | Portioning, steak cutting | High |
| Honing steel | Edge maintenance before every session | Essential |
| Whetstone set (220–3000 grit) | Restoring dull edges | High |
| Heavy hardwood board + non-slip mat | Work surface | Essential |
Knife Sharpening and Edge Maintenance
The single most important skill in home butchery — ranking above any anatomical knowledge — is maintaining a genuinely sharp edge on every knife you use.
Honing (steel or ceramic rod) realigns the microscopic edge of the blade without removing material. A steel knife's edge is a series of tiny teeth that fold over with use; honing straightens them back. Do this before every session: 4–5 strokes per side at a consistent 15–20° angle. Honing does not sharpen; it maintains sharpness between sharpenings.
Sharpening (whetstone) removes metal to re-establish the edge bevel when honing alone no longer restores an acceptable edge. A whetstone progression produces the finest results: 220 grit for significantly damaged edges → 1000 grit for general sharpening → 3000 grit for refinement → hone on a smooth steel. Hold at a consistent 15–20° angle per side throughout.
Professional sharpening services are worth the cost for quality knives — every 3–6 months of regular use is an appropriate interval. Japanese knives should be professionally sharpened until you are confident with their geometry.
The sharpness test: a truly sharp butchery knife will shave arm hair cleanly, slice through paper pulled taut without tearing, and require almost no downward pressure to move through raw meat. Anything less, and you are working too hard and too dangerously.
Pro tip: Store knives on a magnetic strip, never loose in a drawer. Loose storage damages edges on contact with other metal and creates a hidden safety hazard when reaching into the drawer. A magnetic strip also keeps edges drier — dishwashers degrade both steel and handle material over time. Hand-wash and dry immediately after use.
Working with Seams: Muscle Separation Technique
The most elegant and waste-minimizing approach to butchery is seam butchery — following the natural connective tissue boundaries between muscle groups rather than cutting arbitrarily through them.
Every muscle is surrounded by a white fascia (connective tissue sheath). Where adjacent muscles meet, this fascia forms a visible white seam along which muscle bellies can be separated with minimal knife work — primarily controlled pulling tension plus precise tip-cutting of the fascia that resists.
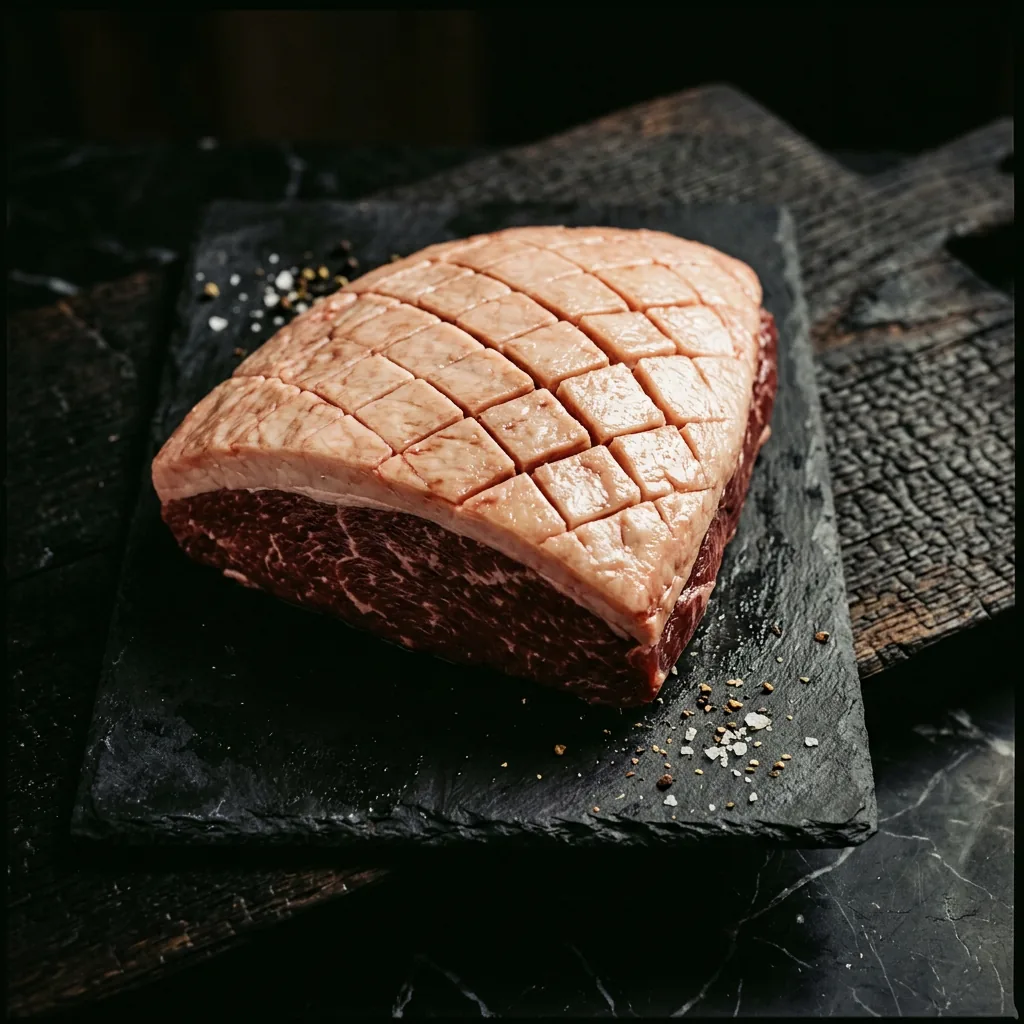
Following seams produces: cleanly isolated muscles with smooth surfaces for better searing contact; maximum yield with almost no meat lost to waste; superior cooking results because each isolated muscle cooks evenly as a uniform unit; and access to cuts that standard primal cutting would never reveal — the flat_iron (infraspinatus), the denver_steak (serratus ventralis deep), and the hanger_steak (diaphragm pillars) are all seam butchery discoveries.
Seaming technique: grip one muscle firmly and apply gentle pulling tension away from the adjacent muscle. Run the boning knife tip along the white fascia that resists, barely cutting. The knife should glide with the anatomy; if significant force is required, you are in the wrong plane.
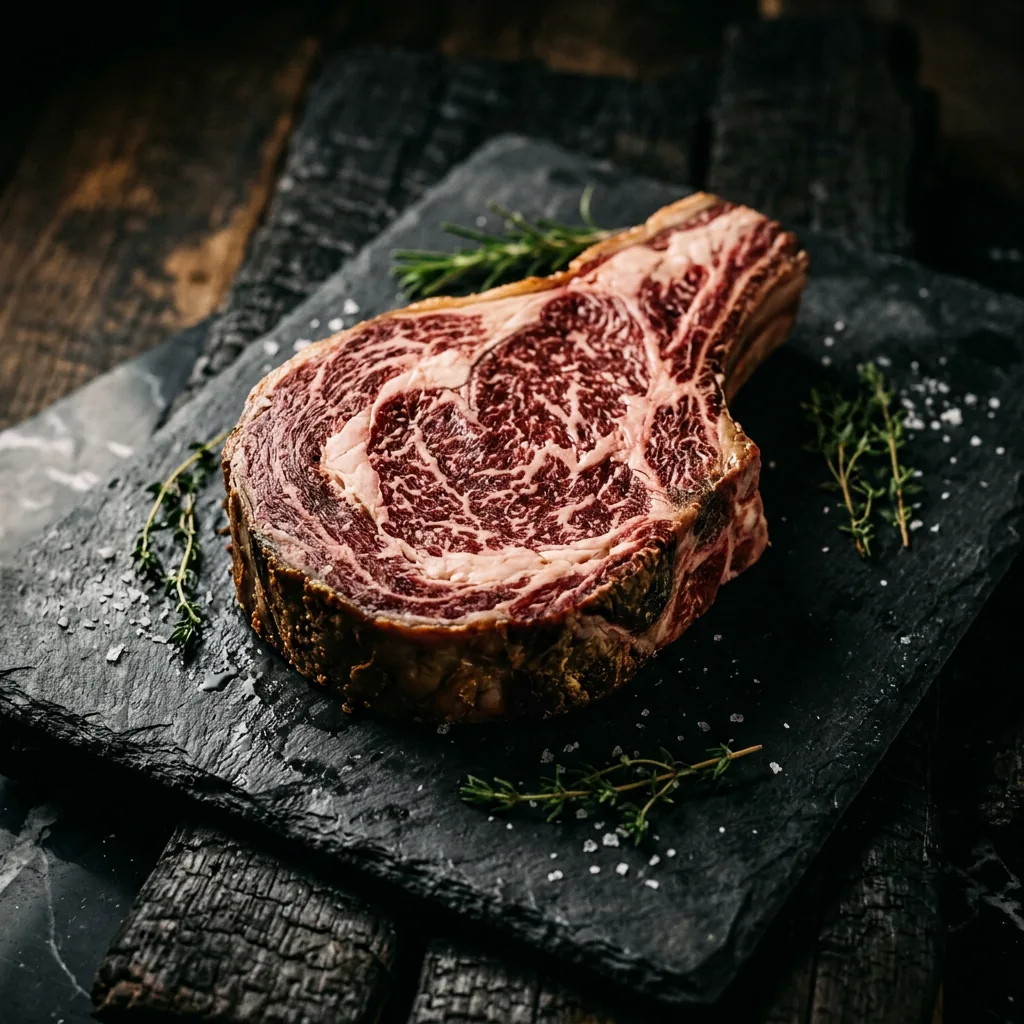
Pro tip: Cold meat seams more cleanly than room-temperature meat. Place primals in the freezer for 30–45 minutes before seaming — firm meat holds its shape, fascia lines are more distinct, and surface trim is minimized. Chilled ribeye or picanha primals also portion into far more uniform steaks.
Boning Out: Key Techniques for Common Primals
The golden rule of all boning work: keep the knife against the bone, not the meat. The knife tip traces the bone's surface continuously; meat releases as a consequence, not as a target.
Butterflying a leg of lamb for even grilling: 1. Lay the lamb_leg skin-side down; palpate to find the femur 2. Make a long incision along the femur from the pelvic end 3. Work around the ball-and-socket hip joint by pressing the leg outward and cutting through cartilage in careful strokes 4. Follow the tibia and fibula down to the knee and release connective tissue 5. Open the leg flat; score the thickest areas horizontally to achieve 2–3 cm uniform thickness for even grilling
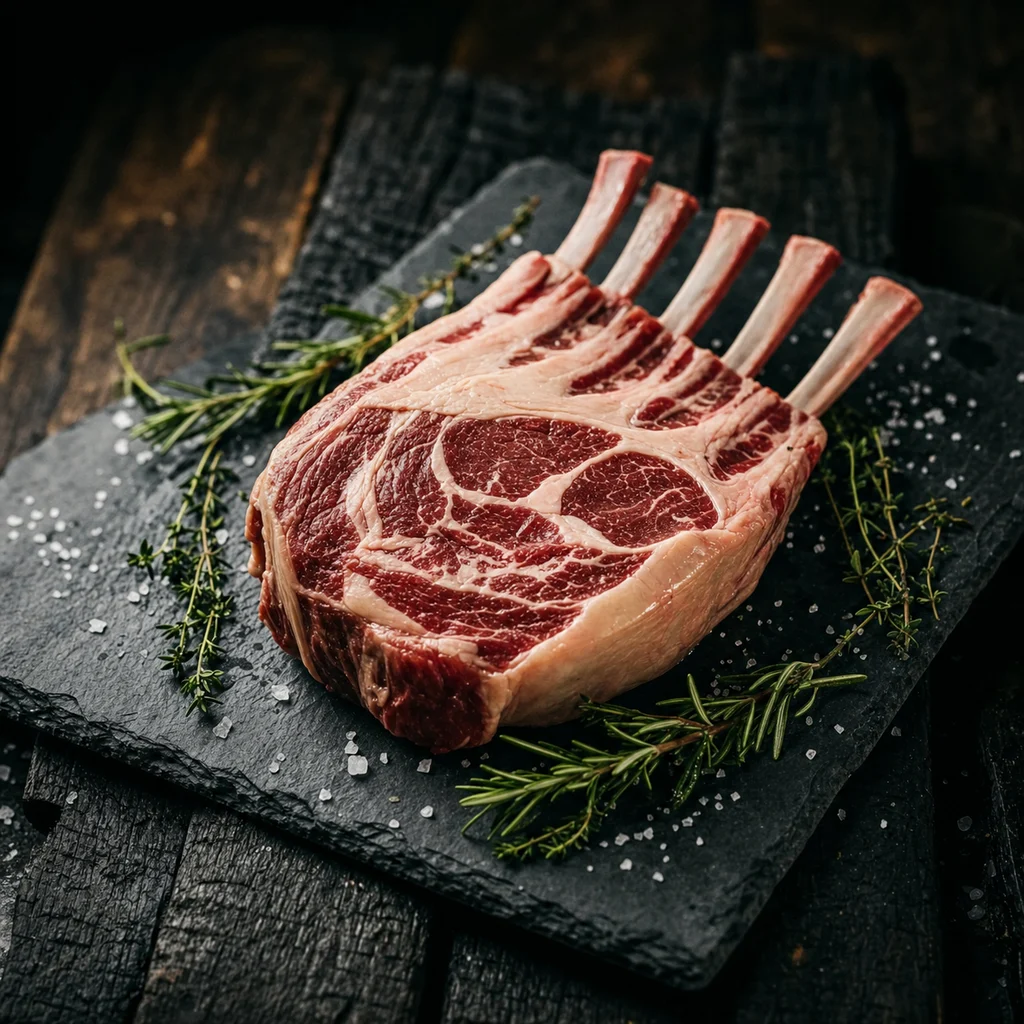
Frenching a rack of lamb: 1. Score through the fat cap of the lamb_rack perpendicular to the bones, 5 cm from rib tips 2. Remove all fat, meat, and periosteum from the exposed bone section — scrape clean with firm downward strokes 3. The finished rack shows gleaming white bones of equal length with a clean cap of meat
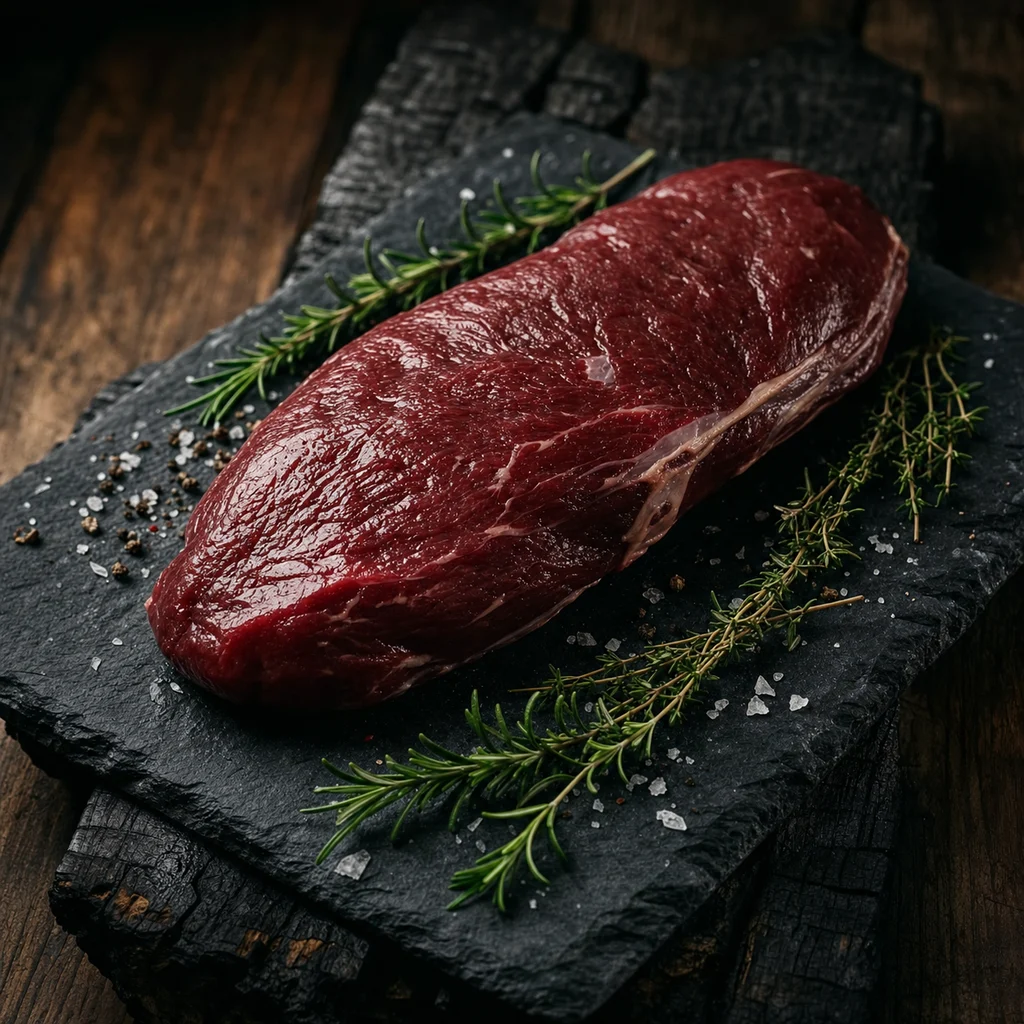
Portioning venison loin: The venison_loin has virtually no fat or connective tissue — pure lean muscle. Chill thoroughly before portioning. Cut at 3–4 cm thickness; a single smooth draw of the slicing knife produces a clean, even medallion surface.
Portioning: Consistency and the Grain Principle
Restaurant-quality steak portioning requires two qualities: consistent thickness across all pieces from a primal, and cuts made perpendicular to the muscle grain.
Why against the grain matters: muscle fibers run parallel along the muscle length. Cutting perpendicular shortens them at the cut surface — experienced as tenderness. Cutting parallel produces long fiber bundles the jaw must tear — experienced as chewiness even in well-cooked meat. This is the most common portioning error in home kitchens, and it is correctable with one piece of knowledge.
| Cut | Recommended Thickness | Rationale |
|---|---|---|
| Ribeye | 2.5–4 cm | Thick enough for proper sear without center overcooking |
| Picanha | 2–3 cm with fat cap intact | Fat cap faces heat; never exceed 3 cm for grill work |
| Venison loin | 3–4 cm medallions | Lean muscle; thickness protects against rapid heat penetration |
| Lamb rack | Single or double bone portions | Cut cleanly between bones for single; skip a bone for double |
| Tenderloin medallion | 4–5 cm | Maximum protection for the leanest, most heat-sensitive cut |
Practical technique: chill the primal 30–60 minutes in the freezer before portioning; mark regular intervals before cutting; use a single smooth draw of the slicing knife per cut — never a sawing motion.
Food Safety in Home Butchery
Raw meat handling requires structured hygiene throughout, not as an afterthought but as the framework within which all cutting work takes place.
- Dedicated color-coded boards: red for raw meat, green for produce. Cross-contamination between raw meat and ready-to-eat produce is the primary foodborne illness risk in the home kitchen
- Temperature discipline: work with meat as cold as possible. Return it to the refrigerator between sessions if the work spans more than 30–40 minutes. Bacterial growth is fastest in the 5–60°C danger zone
- Hand protocol: wash hands 20 seconds with soap before beginning, between handling different raw proteins, and immediately after finishing
- Surface sanitization: after butchery, clean all surfaces with food-safe sanitizer — not just dish soap. Soap loosens contamination; sanitizer kills pathogens. This is not interchangeable
- Immediate labeling and storage: vacuum-pack or wrap in butcher paper immediately; label with cut name and date; refrigerate and consume within 3–5 days, or freeze within 24 hours of butchering
The discipline of home butchery is cumulative: each session builds muscle memory, anatomical awareness, and confidence with the tools. Begin with a whole chicken — the most forgiving introduction — progress to a butterflied leg of lamb, and eventually a bone-in pork shoulder or a full beef primal. The investment returns in quality, significant cost savings over pre-cut retail, and the satisfaction of a craft practiced with skill and care.